

This is a step by step tutorial for writing a simple DirectShow audio capture and recording application in .NET by using AudioLab. The steps are almost identical in C#, Visual Basic .NET, C++/CLI and J#.
WARNING: In order to run the application in this example you must have DirectX 9.0 or higher installed on your system!
There is one line of code writing necessary to complete this application.
There is need of only basic knowledge of C#, Visual Basic, J# or C++ in order to create this application.
The code in this demo will be in C#, however the one line of code is almost identical in the rest of the languages.
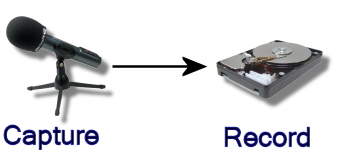
The tutorial covers the following steps, which should take less than two minutes:
1. Add a DSAudioIn Component to Your Application's Form:
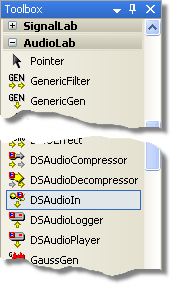
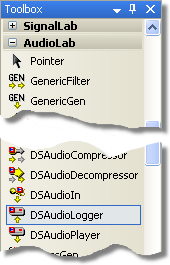
2. Add a DSAudioLogger Component to Your Application's Form:
3. Set the DSAudioIn properties:
3.1. Select the dsAudioIn1 component:

3.2. In the dsAudioIn1 Properties select the Enabled property and set it to False:
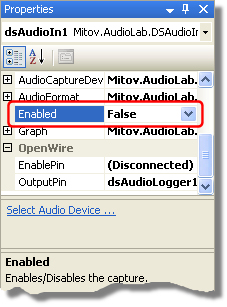
4. Connect the DSAudioIn.OutputPin to DSAudioLogger.InputPin:
4.1. In the dsAudioIn1 Properties select OutputPin and click on the ![]() button:
button:
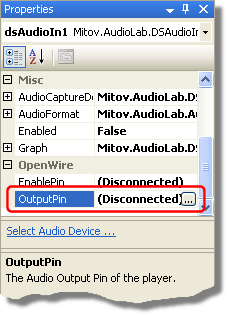
4.2. In the connection editor check the InputPin of the dsAudioLogger1 and click OK:
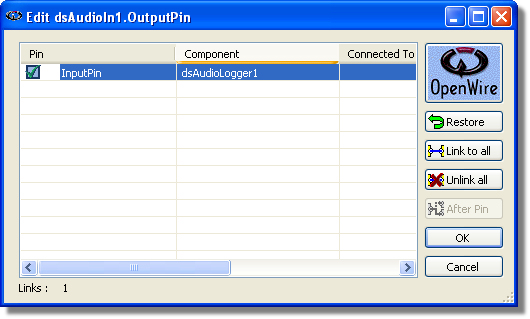
5. Specify file to record in the DSAudioLogger Component:
5.1. Select the dsAudioLogger1 component:

5.2. In the dsAudioLogger1 Properties select the FileName property and enter the path and the name of the file where you want to record the captured audio:
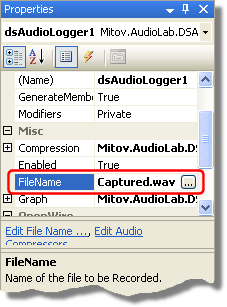
6. Write one line of code to start the recording (Written in C# for this demo):
6.1. Double-click on the form to create a Form1_Load event handler.
6.2. In the event handler write “dsAudioIn1.Start();”.
private void Form1_Load(object sender, EventArgs e)
{
dsAudioIn1.Start();
}
7.1. Press (F5) to run the application.
7.2. Talk in the microphone.
7.3. Stop the application. You should have wave file recorded on your disk:

Here is a diagram of the OpenWire connections in this application:
